Your decking might not be the first thing on the agenda when approaching a garden refresh, but it has the capacity to enliven your entire plot. The thing about decking is that, despite being such a key aspect of your outdoor space, they often get overlooked as an element you can modify. To overhaul them sounds like a lot of hassle, and a tricky job that might come back to bite you if you’re not happy with the end result. But don’t let this stop you. Whether on virgin wood or a previously painted surface, it’s actually pretty straightforward to learn how to paint decking.
All it takes is some thorough preparation and a steady hand; the rest is as simple as following the instructions of one of the three methods we divulge below.
The case for painting your decking
There are a multitude of benefits to painting your decking, but we’d be here for a lifetime if we had to mention them all. So here is just a quick summary of why giving your decking a touch-up is the best idea since sliced bread.
Besides the obvious (it looks darn good), a high-quality paint job will protect the material against the soggy British weather and keep the boards from warping as much. It’s also a pretty cost-effective way to switch up your garden’s look, all whilst preserving the structural integrity of the deck and avoiding installing a new one.
With wooden decking, in particular, painting can make maintenance so much easier as you’re introducing a protective layer between the vulnerable wood fibres and the outdoor moisture. When it’s coated, decking maintenance will simply incorporate cleaning it every now and then, and touching up the colour when required.
Note: if this sounds like a lot of effort, maybe composite decking is more your style. In comparison with timber, it’s a lot easier to look after and has a much longer lifespan.
Key considerations
Before we go into the prep, there are a bunch of considerations prudent DIYers will want to pay regard to. This is particularly significant as each of them will have a bearing on the final product.
Skill level
Skill level is of central concern to any DIY project. Ask yourself, do I feel confident enough to carry out the task with finesse? Or is calling in the experts a safer bet? While anyone with competent hand-eye coordination can take on the challenge, remember that once your deck is painted, there’s no going back. Well, not exactly, but the going back will take a lot if you catch my drift.
Material
Which material you intend to paint is of the essence in the arena of decking decoration. On paper, it’s possible to paint any decking. But we wouldn’t recommend it.
Composite – thanks to its wood fibre and plastic composition – will require specialist paint and plenty more layers than timber, and is a significantly trickier task. UPVC trickier still.
Both should retain their original colour for a long time, so the only reason you have to give them a lick of paint is if you’re fed up with the shade. But if you are set on painting them, ensure you do your due diligence when selecting an appropriate paint and primer, and carry out a suitable amount of sanding. Because of these added challenges, this blog will focus on timber decking.
Method
On top of all the considerations we’ve laid out thus far, is the matter of painting method. Do you want to go down the route of paintbrush, roller or sprayer?
Brushes give you the optimal level of control, allowing you to really get into the grooves of the deck boards, but may take longer than spraying or rolling on the paint. A sprayer is great if time is of the essence, but they do tend to overspray so do be careful setting up.
Getting started: How to prep a deck for painting
It’s every DIYer’s favourite moto: failing to prepare is preparing to fail. In this next section, we’ll go into the crucial details involved in prepping yourself and your decking for the painting process.
Gather your equipment
For this project, you will need to get a hold of the following:
- Decking stripper
- Broom, scrubber and a hose/jet washer
- Screwdriver and somewhere to safely keep screws (if required)
- Paint brush, roller and/or sprayer
- Sanding paper and/or orbital sander
- A high-quality decking paint like Ronseal
Scheduling in some painting time
This might sound obvious, but do give it some thought when you want to get the job done. Working time could be up to 8 hours from start to finish, and there’s the added hurdle of choosing a day with fair weather – you don’t want a spot of rain to ruin all your hard work!
Also, don’t forget about drying time if you need to pressure-wash the deck. Here, it might be a good idea to spread the work over a couple of days so the wood will be dry when you begin to paint.
Ideally, aim for a day of low humidity and around 10°C-25°C, so you can both work comfortably and see the paint dry without any hindrance.
Giving your garden decking a good clean
With the date set, you can begin by cleaning the deck. We suggest doing this a day before your designated painting time, so the boards will be bone dry when you deal with the next steps.
Cleaning your decking is pretty straightforward; give it a sweep and then take a soapy solution and a scrubber to give it a good rub to remove any algae, moss or grime build-up. For stubborn muck, you can use a hose or jet washer to dislodge it.
Evaluating its condition / carrying out preliminary repairs
With the boards clean and dry, you can evaluate the condition of the boards. Are they whole, even and secured? If not, that’s your cue to do some quick repairs. This might involve plugging holes with an exterior filler, replacing boards and sanding. (But don’t worry about that last bit because – spoilers – that’s the next step).
There’s also the issue of previous paint if you’re doing a touch-up. See any residual bits of a previous finish such as oil, stain or paint? It’s time to whip out the decking stripper – this solution is formulated precisely to remove these coatings and can be applied with a brush.
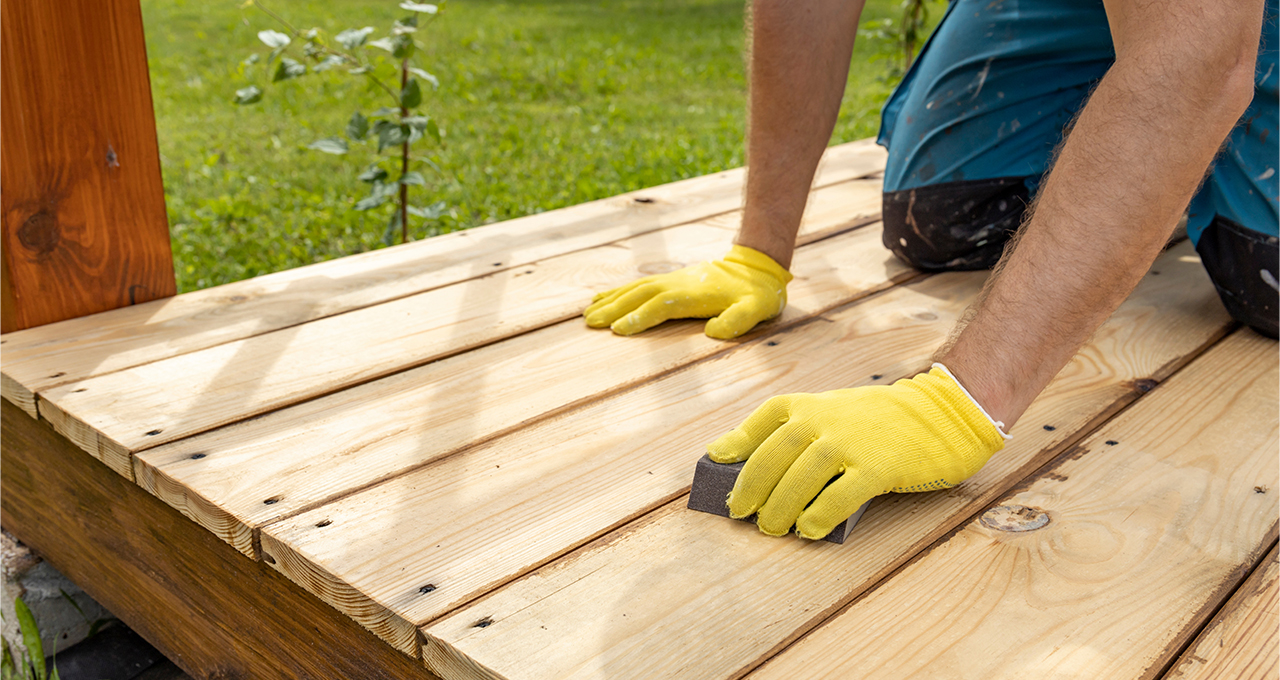
Sanding the surface
When the filler has dried, it’s a good time to get sanding. Here, you’ll need sandpaper of around 80 grit to start off with. Work systematically going from one corner to the other, using a decent amount of pressure, always following the grain. If the boards are especially weathered, it’s worth starting off with a rough sanding at 60 grit.
If you have an orbital sander to hand, you can use that to save yourself a workout! The previous tips still apply.
When you’ve finished up, get rid of any dust and debris with an industrial hoover, broom and/or wet cloth. It should be looking pretty good now!
Covering any areas you don’t wish to paint
With painting just around the corner, you’ll need to mask up any parts you don’t want to paint, for instance, balustrades or steps. Also, don’t forget to put down dustsheets, rags or whichever protective throw you’re using to catch any wayward paint. If disassembling the deck isn’t too difficult you may want to take it apart to save you some hassle when you get your paintbrush out.

How to paint decking
With all the preparatory steps completed, you can finally get to the main part – painting! As long as you’re happy with the smoothness of the surface, get going.
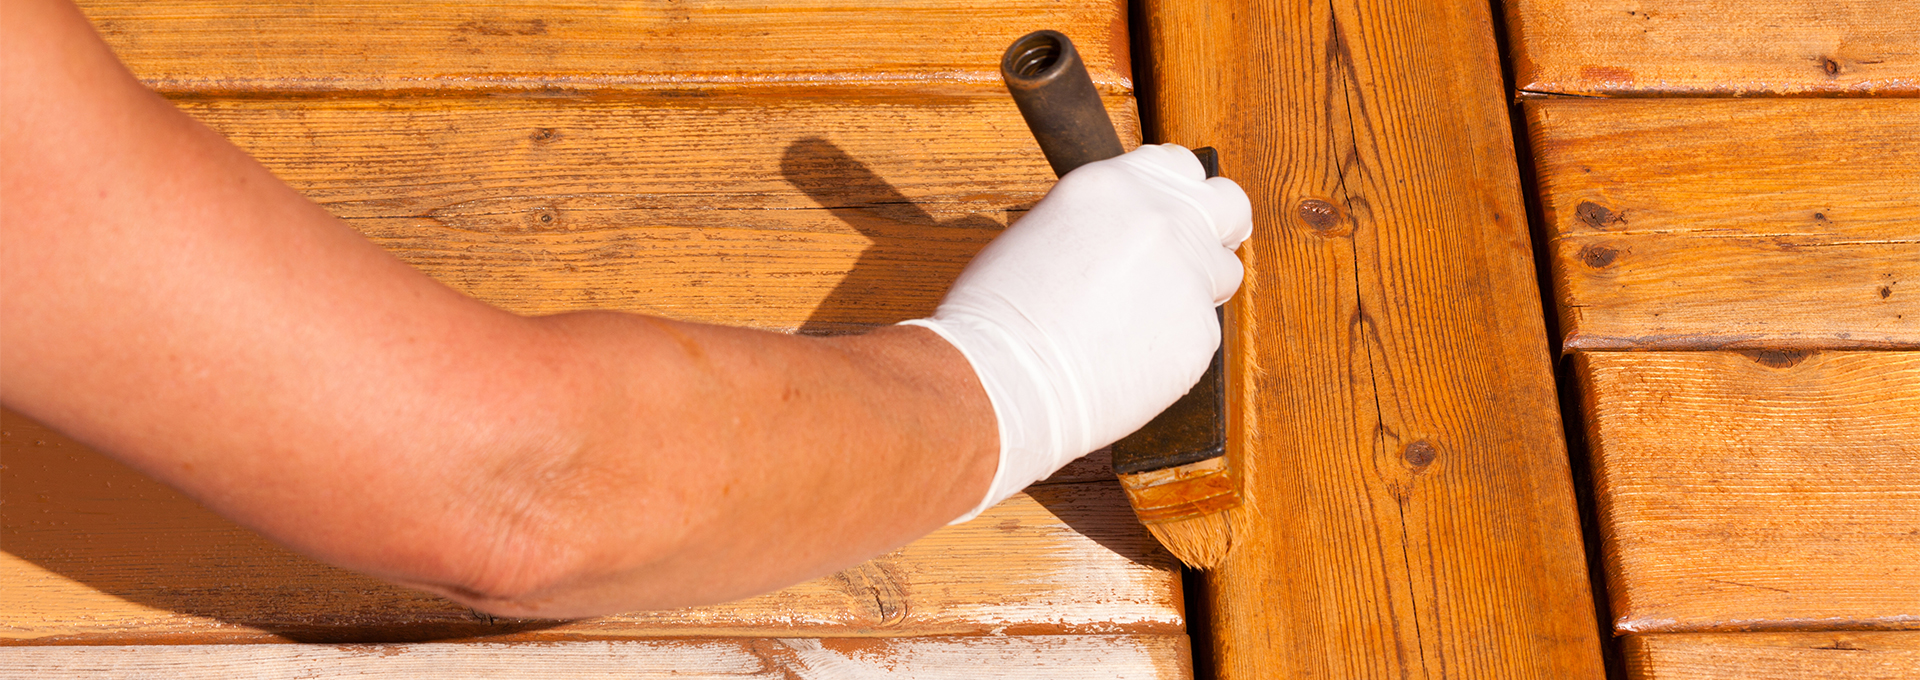
Method A: Paintbrush
Step 1
Decking benefits massively from a priming layer before you slap on the paint, but if you have self-priming paint, you can skip this step. Apply a thin even layer of your primer on the surface, covering the full area by following the grain. Wait as instructed on the can before moving on to painting.
Step 2
Start off with a good stir of your paint to achieve a consistent colour. Get a decent amount of paint on the brush without overloading it so it’s dripping and apply it generously onto the decking, starting in the farthest corner and working your way systematically outwards. As with the sanding, follow the direction of the grain and ensure an even coverage throughout.
Step 3
Repeat step 2 with an additional two layers of paint, ensuring that you wait for the drying period noted on the manufacturer’s instructions. When you’re happy with the pigmentation and coverage you can wait for the final round of drying – i.e., 24 hours before walking on the surface and a further day before you put any furniture out again.
Method B: Roller / paint pad
Step 1
To ensure proper application, gently load the roller with a modest amount of primer, making sure it is evenly distributed. Then, carefully roll the primer onto the surface using long, smooth strokes to cover the entire area while following the natural grain. Allow the primer to dry for the specified time indicated on the can before carrying on with the next steps,
Step 2
When applying the paint with a roller, it’s crucial to avoid using too much – no one wants visible paint drips on their decking! Turn the roller as you apply the treatment to guarantee even coverage, and if you’re using a pad, make long strokes along the length of the boards.
Be sure to go over the painted bits again to achieve a consistent finish and prevent them from forming puddles. Remember to work along the length of the boards, painting three to four boards at a time from one end to the other end of a deck board in a logical manner.
Step 3
Once you’ve waited for the paint to dry as directed by the instructions on the tin, you can repeat step 2 until you’re happy with the number of layers and the final look. Wait for at least 24 hours before walking on the boards you’ve painted and a day longer before you put any furniture pieces back on the deck.
Method C: Sprayer
Step 1
Set up your paint sprayer by opening it up (usually this requires pushing down a handle and twisting it anticlockwise) and pouring in the paint into the tank. Once filled, you can screw it closed again, ensuring it’s tightly sealed. Then you can get it pressurised.
Step 2
Thanks to the precision of the paint sprayer nozzle, applying the paint this way is as easy as pie. Simply hold the nozzle about 25cm away from the deck surface and press down the button to spray the paint along the length of the grain, once again going from one corner to the other.
Here, you should use long sweeping arm movements rather than short wrist flicks; this way, you get nice and even coverage. Make sure you overlap your previous spray each time you move along so you hit the right amount of product on each section.
Step 3
The next step is to wait for the paint to dry as directed by the manufacturer’s specifications. Then you can rinse and repeat with additional layers if you wish to build up the number of coats.
Restored to former glory
All done and dusted. See, it wasn’t that hard! With a bit of grit and determination, you can turn even a crusty old deck into a tasteful seating area well worth celebrating. And now you know how to paint decking or repaint a deck, the maintenance will come naturally. Here’s to a job well done!