Is your shed roof looking a little worse for wear? Since you’re here, we can probably assume that the answer is ‘yes’. That’s where we come in. Whether you’re facing leaks, cracks and tears, or maybe just the passage of time, the good news is that with the right tools and know-how it can be a relatively easy (and enjoyable!) fix. In this ultimate guide, we’ll walk you through all that you need to know to get that shed looking as good as new. Here’s how it will pan out:
- Common Signs That It’s Time to Fix a Shed Roof
- The Cost of Garden Shed Roof Repair
- How to Repair Your Garden Shed Roof
- Final Thoughts on Garden Shed Roof Repairs
Common Signs That It’s Time to Fix a Shed Roof
When facing the elements every day, even the best quality shed roofing will face issues from time to time. Whilst not every problem may seem immediately pressing, it is always best to tackle repair projects as early as possible to minimise any further damage.
If left too long, your shed won’t be the only item facing issues, but the contents you’re storing inside it will too, which is why it is so important to identify when it is time for a garden shed roof repair. Here’s a couple of the most common indicators:
- Sagging – Typically an indicator of particularly weak or low-quality roofs, if you notice sagging, it is definitely time to look at a repair job or replacement. There is likely to be a major structural issue with the roof, perhaps from water damage, excessive weight (such as from ice/snow), or rotting roofing materials.
- Moss and Algae Growth – More than just an aesthetic annoyance, these organisms grow in particularly moist, shaded environments, suggesting that your roof is retaining excess moisture. This moisture can seep into the materials over time, causing rot, deterioration, or structural weakening.
- Cracks and Tears – Cracks and tears are clear indicators that the roof’s integrity has been compromised, often caused by extreme weather conditions or prolonged sun exposure. Acting as entry points for water, cracks and tears usually come with leaks and further degradation.
- Leaks – Likely the most obvious, but also one of the most concerning signs it’s time for a garden shed roof repair, even the smallest leaks can lead to significant damage over time. Problems with roofing materials – such as wear, improper installation or low-quality choices – are the usual culprits, indicating a breach in waterproofing.
- Ponding – Ponding describes when water collects and stagnates on the shed roof instead of draining properly, particularly on low-pitched roofs with less of a slope to rely on for water run-off. Issues can range from increased deterioration of roofing materials to a strain on the roof’s structure from the weight of the water.
- Exposed Timber – When the roofing material has been damaged so much that the underlying wood is visible and vulnerable to the elements, rotting, leaks, warping and mould are sure to follow.
- Blistering – Blistering refers to small bubbles or raised areas on the roofing material, indicating trapped moisture or heat. As this moisture or heat builds, leaks and further damage become almost inevitable.
Repair or Replace?
With so many issues to look out for, you might be wondering if it is even worth investing in a shed roof repair. If the shed roof isn’t completely rotting, there is normally something you can do to repair it. However, it is likely to be more cost-effective to replace a roof that has recurrent or particularly large-scale issues, like sagging. In these cases, not only will replacing your roof fix the immediate problem, but it can also provide an opportunity for an overall aesthetic and functional upgrade.
Nonetheless, fixing a shed roof is a worthy endeavour if only a part of the roof area is damaged. It allows you to preserve the elements of the existing roof structure which may still be in good condition, as well as the original aesthetics of the shed. By continuing to utilise as much of the original roofing material as possible, there will also be significantly less waste, meaning that repairing is a much more environmentally friendly option. Plus, minor repairs are often satisfying DIY projects!
The Cost of Garden Shed Roof Repair
A key consideration before pursuing a garden shed roof repair is how much it is likely to cost. Whilst it varies, the average cost of replacing a shed roof can be calculated at around £40/m². However, there are many influencing factors to think about, including:
- The Type of Damage
- The Size of the Shed
- The Material of the Roof
- Any Extra Finishes
- Professional vs DIY
For instance, water damage may be more costly to repair than a simple crack, as it may have spread to the timber beneath, which will also need fixing. Larger sheds will require more materials, and more complex shed designs will require more skill and time. When it comes to materials, fixing felt on a shed roof can cost as little as £3/m², whereas clay tiles come in at a whopping £98/m².
You can save a considerable amount of money by taking on the labour yourself, since the average cost for a professional is around £30/h, not to mention extra charges such as removing the current roof (~£80/m²). However, choosing a professional roofer will usually ensure that the project is done to a high standard, reducing the risk of costly mistakes.
How To Repair Your Garden Shed Roof
Now that we have covered the common signs of shed roof damage, and tackled the issue of cost, let’s focus on the specifics of how to go about a garden shed roof repair. This section will break down the materials you need and the repair process for three common roofing materials: felt, shingles, and corrugated sheets.
Safety First
Just before we get wrapped up in the DIY of it all, a quick note on safety! Shed roofing, especially when in poor condition, is not equipped to support the weight of an adult person. For this reason, it is generally recommended that you use a ladder to complete the job, rather than walking on the roofing itself.
Also, don’t forget the basics, like ensuring that no one wanders into the shed whilst you’re doing the work, or wearing safety equipment when handling harmful or irritating materials. You might also find it useful to have a second set of hands to hold the ladder and help with any extra tasks. For more detailed safety information, you can also read the Health and Safety Executive’s guide to working on a fragile roof.
Now let’s get going!

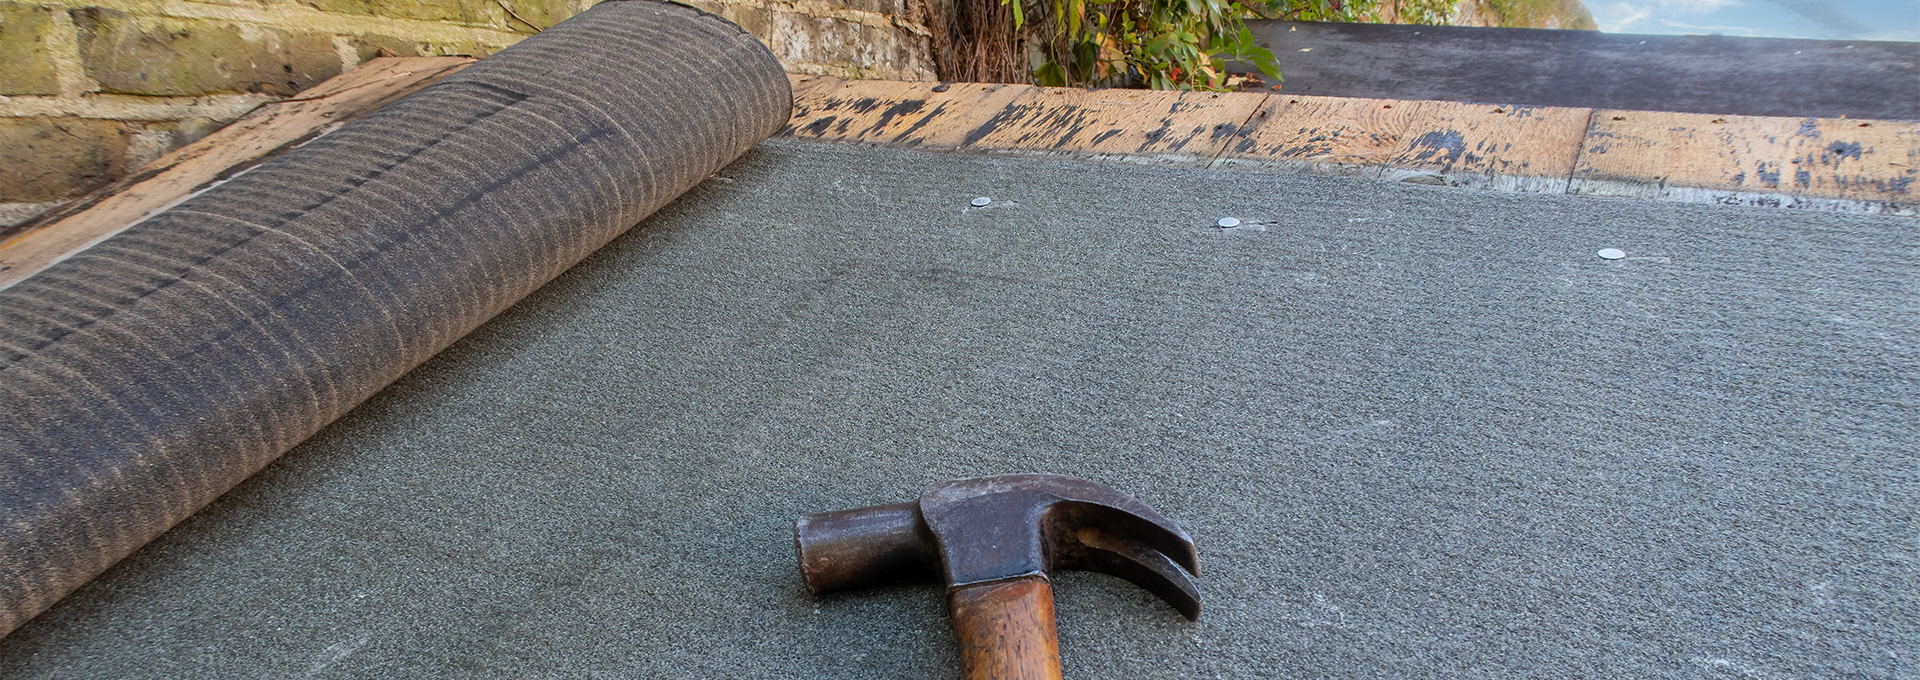
Roofing Felt
Materials You’ll Need
- Roofing felt of choice.
- Hammer.
- Tape measure.
- Straight edge.
- Sharp knife.
- Marker pen.
- Adhesive.
- Flat head screwdriver.
- Fixings – such as felt nails.
Fixing Felt on Your Shed Roof
- Remove the Finials and Fascia Boards – Using the flat head screwdriver, or the claw end of the hammer, carefully remove the finials and fascia boards. Put them to one side – now is a good time to replace them if necessary.
- Remove the Old Material – It might be tempting to skip this step, but we don’t recommend placing the new felt directly on top of the old felt as you risk missing major structural issues such as damp or rot. These must be addressed before applying the new felt, otherwise issues are likely to reoccur regardless. Gently use a flat headed screwdriver to remove the nails holding the old material in place, being careful not to damage any other sections which may not be coming off.
- Measure and Cut the New Felt – To get a good fit, measure the length of your roof accurately. Then, if you’re completing a full repair, cut the felt to the same length on a hard, flat surface, creating three sections of equal length. Two of these will be for either side, and the remaining one will cover the top of the apex. Note that steeper pitches may require more pieces to create an effective overlap. If you are only repairing a section, ensure that you cut at least 5cm over the length of your roof to offer a margin of error.
- Lay the New Felt Flat – To test the fit and positioning of the felt, lay the cut pieces on the roof, and smooth the creases.
- Fix the Felt in Place – Once you’re happy with the fit, apply an adhesive to the patch, and press the felt down hard. Then, using your fixing of choice, secure the felt to the roof at 15cm intervals. A straight edge will be handy here to ensure things are equal and neat, especially if they are likely to be on show.
- Refasten Finials and Fascia Boards – If you’ve purchased new timber boards, ensure that you treat them properly before refastening to the shed roof. Finish up by trimming any hanging felt to create a neat look.
- Check Regularly!
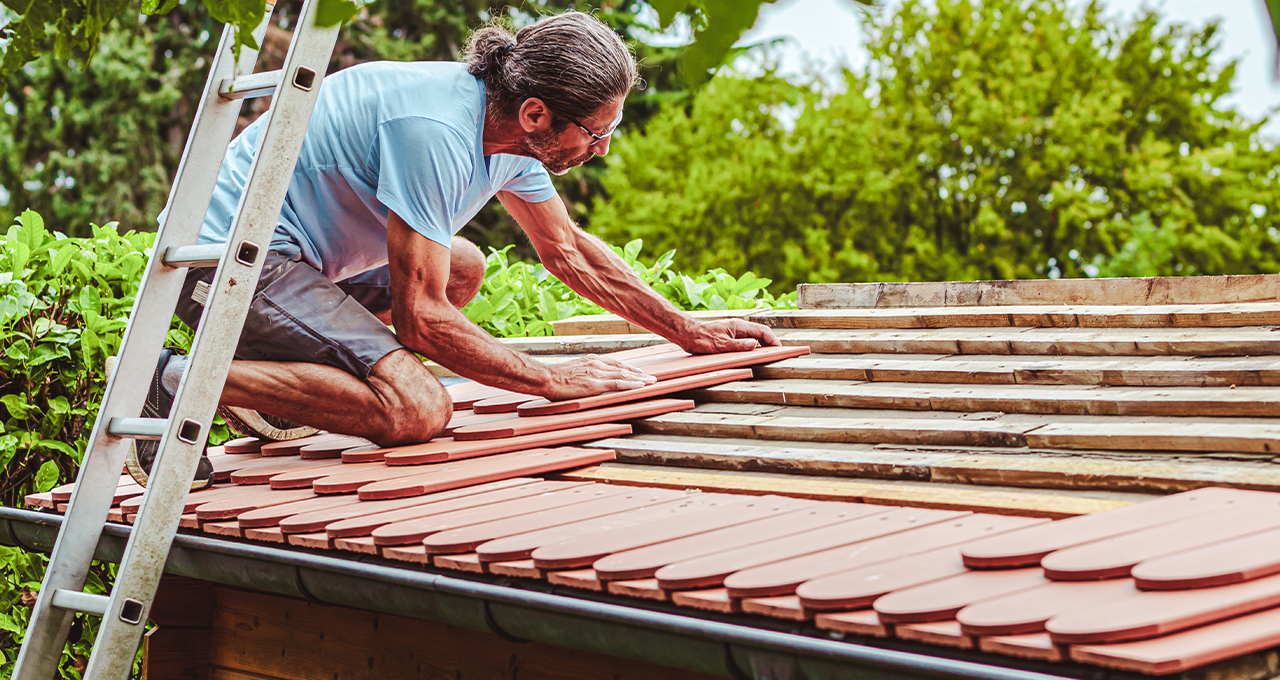
Shingles
Materials You’ll Need
- Shed shingles of choice.
- Hammer.
- Pry bar.
- Fixing of choice.
- Measuring tape.
- Roofing sealant.
- Roofing felt (optional).
- Sharp knife (optional).
Fixing Shingles on Your Shed Roof
- Remove Damaged Shingles – Use a pry bar to pull old shingles away from the shed roof and then pull out the nails holding them in place. Repeat on each row, working across the target section.
- Inspect the Roof – Look for any signs of further damage. If the felt and wood below are in good condition, you can proceed to the next step. Otherwise, you might want to consider replacing the existing underlayment with roofing felt or similar to provide an extra barrier against water.
- Replace Each Damaged Shingle – Starting at the bottom edge of the section, place the first row of new shingles, ensuring that they are straight and overlap slightly. Press each shingle down firmly and then use a hammer to secure with nails, ensuring that they go through the underlayment into the roof decking. Typically, you will need around 4-6 nails per shingle. If you are only repairing a small section touching shingles you are not removing, use a pry bar to lift the bottom row of nails in the shingle above and pull them out, before placing the new shingle, reinserting each nail and using a hammer to push them into place.
- Use Roofing Sealant – A bead of roofing sealant around the edges of the shingle can help to ensure they are watertight. Focus specifically on the edges and corners since these can be lifted by wind or water.
- Cut Excess Shingles – If you are using something like felt shingles, you can use a utility knife to trim the shingles around the edges or other roof fixtures. This will allow for a neat finish.
- Check Regularly!
Corrugated Sheets
Materials You’ll Need
-
- Corrugated Sheets of choice.
- Ridge piece or verge.
- Tape measure.
- Marker pen.
- Straight edge.
- Saw.
- Hammer.
- Screwdriver.
- Fixings of choice.
- Roofing sealant (optional).
Fixing Corrugated Sheets on Your Shed Roof
- Remove the Damaged Roofing – Using a screwdriver, carefully remove the screws or nails securing the damaged sheets in place. Then, remove the old sheets. Be cautious of any sharp edges or debris left behind.
- Measure and Cut the Sheet – With certain sheet materials, such as Onduline, you can cut it to size. Measure your roof, and then mark the sheets as required, before cutting with a saw. Take care with any dust or debris resulting from the cut.
- Pay Attention to Workflow – A good idea, especially when it comes to Onduline sheets, is to start on the side of your shed roof that is furthest away from the wind direction. Here, begin with the lower sheets, before moving to the upper layer, and finally the ridge piece. Ensure that the top sheets overlap the bottom sheets.
- Fix the Sheets and Ridge Pieces – Carefully position each sheet and then use a straight edge to measure out the spaces for screws or nails. Typically, you will want to screw at each high point in the corrugated texture, but intermediate screws (those that aren’t part of an overlap with another sheet, or at the bottom of a sheet) can be fastened on alternating high points.
- Consider Using Sealant – Using a roofing sealant in the spaces where sheets meet can prevent future water from slipping through any gaps.
- Check Regularly!
Final Thoughts on Garden Shed Roof Repairs
Repairing a shed roof is a manageable task with the right tools and knowledge. In carefully assessing the damage, choosing the right materials, and following the correct steps, you can restore your garden shed roof to its former glory. Whether it’s a quick fix or a full replacement, maintaining a secure roof will offer the ultimate protection for your shed and everything inside it!
Ready to get your shed roof back in shape? You’ll find all that you need for a successful garden shed roof repair in our roofing material and tool ranges. Considering a full shed replacement instead? Our range of sheds offer easy installation and a flawless finished look.